Category Archives: Half-baked.

Savoury Muffins- Carrot & Cumin and Cheddar & Smoked Bacon.

So things have been pretty quiet on the blog front recently, this has been because my life has been an academic blur in the past few months. My fourth and final year of University was spent predominately on the third floor of the library (often in the same seat, I’m a creature of routine) staring out of the window, I mean working very hard on my dissertation and exams. I was so excited to ‘get my life back’ after exams I hadn’t stopped to realise that I wouldn’t be getting my life back but starting a new one- something I am vastly unprepared for. So I’m going to cling on to my little blog as a token of my student life ( think of it as the same way Leonardo Dicaprio’s character in Inception has that spinning top to differentiate between dream world and real world- but much less cool) I have a back-log of recipes and posts to upload so apologies in advance for the plethora of emails the tens and tens of people who follow this blog are about to receive.

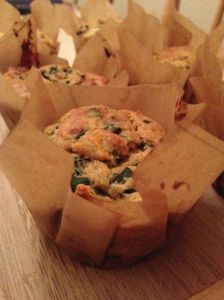
These muffin recipes come from Hugh Fearnley-Whittingstall’s Guardian food page. Firstly, the guardian is an excellent recipe resource, in particular Hugh’s and Dan Lepard’s pages which contain many of the recipes from their books but free (post-student life I am still poor). These savour muffins are a great base for many flavour combinations and freeze so easily. Rather than use pre-made cake cases I just used squares of baking parchment paper (about 14cm square) which work a treat and look pretentiously rustic (a look I constantly strive for).

IMG_0956

Carrot, Spinach and Cumin Muffins (from Hugh Fearnley-Whittingstall)

(makes six)

Ingredients

40g unsalted butter, melted. Plus  10g extra for frying.

1/2 finely diced onion

1tsp ground cumin

75g finely shredded spinach leaves.

175g plain flour

1tsp baking powder

1/4 tsp bicarbonate of sida

1/2 tsp salt

1 egg

140g natural yoghurt

75g grated carrots

20g toasted pumpkin seeds.

Method

1) Heat the oven to 200C/400F/gas mark 6 and line a muffin tin with the parchment squares or muffin cases.

2) Place 10g of butter in a large frying pan and sauté the onion for about 10 minutes until soft, season well. Add the cumin, stir well, then add the spinach and stir until wilted. Leave to cool.

3) In a large bowl, mix together the flour, baking powder, bicarbonate of soda and salt.

4) In a jug, whisk the melted butter, eggs and yoghurt.

5) Pour the wet ingredients over the flour and stir until just combined. Fold in the spinach and onion mixture, the carrots and  then the toasted pumpkin seeds. Spoon into the cases, filling till about 3/4 full, and bake for about 18 minutes or until a toothpick comes out clean.

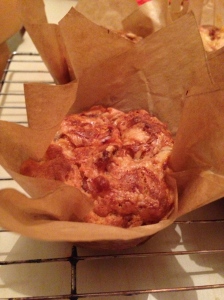
Red Onion, Cheddar and Bacon Muffins  (adapted from Hugh Fearnley-Whittingstall

IMG_0959

(makes six)

1tsp olive oil

50g streaky bacon, cut into small pieces

½ red onion, finely diced

175g self-raising flour

1tsp baking powder

1/4tsp bicarbonate of soda

pinch of salt

1 egg

100ml buttermilk (I used 100ml natural yoghurt with 2tbsp of lemon juice)

75g strong cheddar, grated

Method

1) Heat the oven to 200C/400F/gas mark 6 and line a muffin tin with the parchment squares or muffin cases.

2) Fry the bacon in a frying pan with the oil over a medium heat until crispy. Lift the bacon from the pan with a slotted spoon and drain on kitchen paper. In the same fat, sauté the onion until just softened then set aside to cool.

3)In a large bowl, mix together the flour, baking powder, bicarbonate of soda and salt.

4)In a jug, whisk the eggs, butter and buttermilk, stir them into the flour mixture with a spatula until just combined, then fold in the cooled bacon, onion, and two-thirds of the cheese.

5)Spoon or scoop the mixture into the muffin tin, filling till about 3/4 full. Sprinkle on the rest of the cheese, and bake for about 18 minutes, until the tops are golden and a toothpick inserted into the centre of a muffin comes out clean.


Here’s some pretty neat hip hop to accompany your savoury treats..

http://http://www.youtube.com/watch?v=5Mes12ZikPw


Banana & Rum Cake

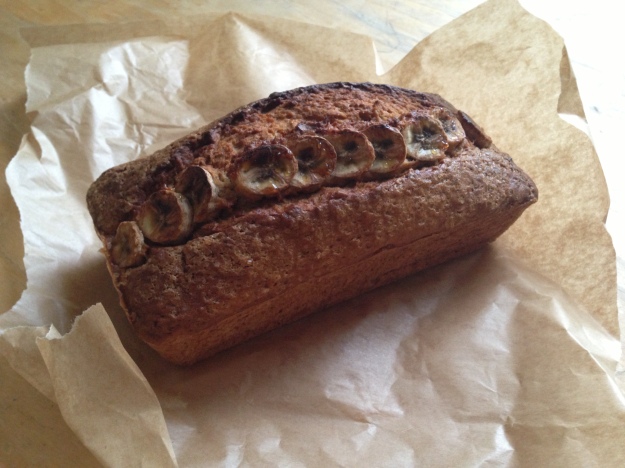
IMG_1083

This Banana and Rum cake was made in the spirit of celebrating Fairtrade fortnight, not a gratuitous effort on my part to introduce rum into all aspects of my life.

Banana and Rum Cake (adapted from A Pastry Affair)

(yields a 9 x 5 inch loaf)

Ingredients:

115g unsalted butter
150g granulated brown sugar plus a bit more sprinkling on the top
2 large eggs
1 teaspoon vanilla extract
3 large ripe bananas, mashed and 1 sliced for decoration
125g plain flour
120g whole wheat flour
1tsp baking soda
1tsp baking powder
1/2 tsp salt
120 ml dark rum or spiced rum (whatever your preference is, I used Sailor Jerry)

Method:

1) Preheat your oven to 180C/160C fan/gas 4. Grease and line your loaf pan with greaseproof paper.

2) In a mixing bowl, crean together the butter and sugar with an electric whisk (or by hand if you’re feeling strong) till light and fluffy.

3) One at a time beat in the eggs, ensuring to mix well between each addition. Beat in the vanilla and mashed bananas, mix well.

4) Mix in the flours, baking powder, baking soda and salt. Mix well.

5) Finally, add the rum, incorporate fully. Pour the cake batter into the prepared loaf pan, place a line a sliced banana pieces down the centre of the pan (it will move when the bread splits) and sprinkle with brown sugar. Place in the middle of the oven for 50 minutes. Check with a toothpick/knife after this amount of time to see if it comes out clean, if not cook for a further 5-10 minutes.

6) Remove from the oven, leave to cool in the tin for 10-15 minutes, then transfer to a cooling rack.

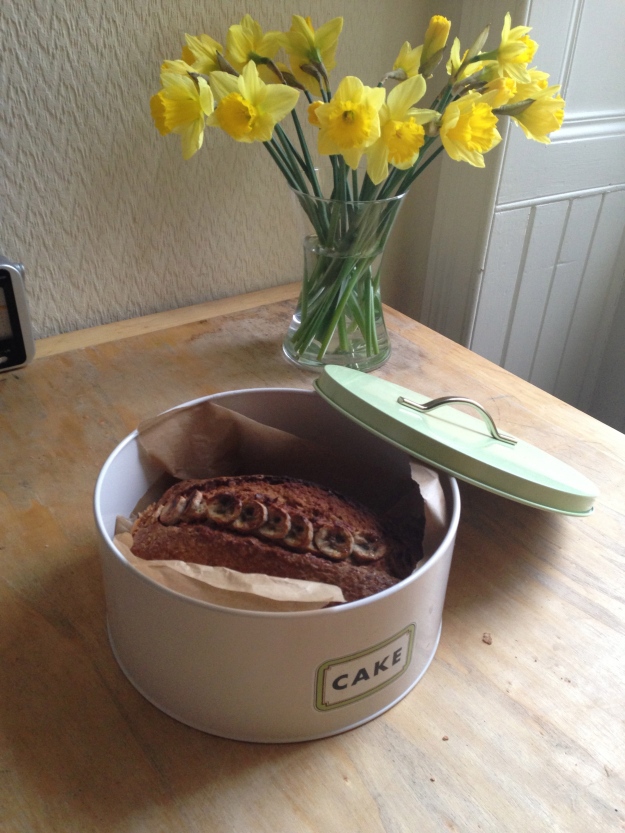
Store well (if it lasts that long)

IMG_1079


The pastry affair has an abundance of other banana bread recipes I’m eager to try. Banana bread is a common go to recipe due to the simplicity of the ingredients and the fact its pretty much fool proof. Next time I’ll have a bash at the Coconut Pineapple Banana Bread. I’m also really intrigued by Belleau Kitchen’s Salted Caramel Upside Down Banana Cake, it’s simply beautiful!


Coconut Key Lime Pie.

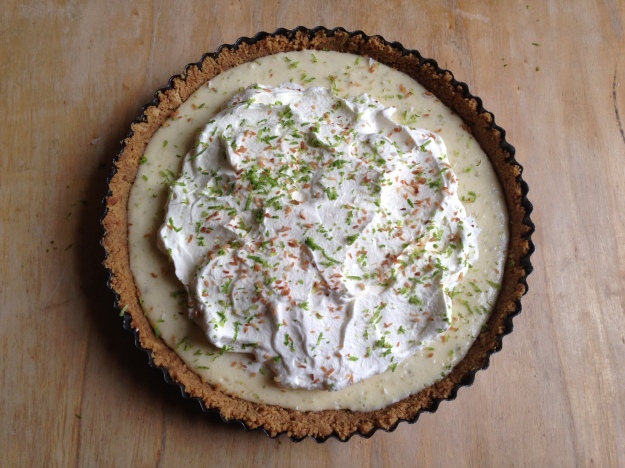
photo-35

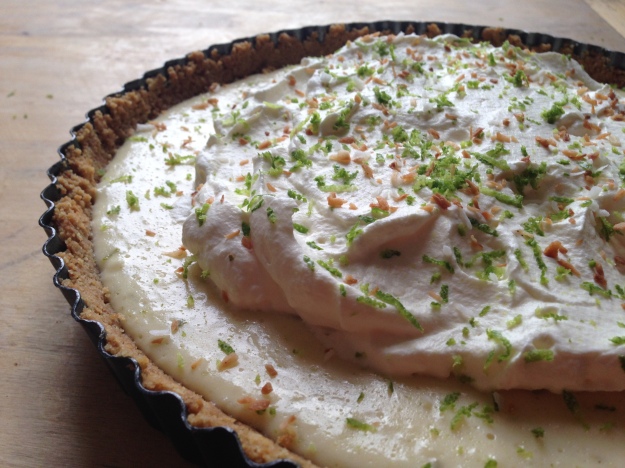
I have never made Key lime pie before and by Key lime pie I mean ‘lime pie’ as it’s pretty damn hard to get Key limes in Britain. I did, however, have an abundance of desiccated coconut. I love that the coconut is ‘desiccated’- it just sounds so extreme. If I make this again (and I probably will as it was so ridiculously simple it shouldn’t be classed as cooking) I would put coconut cream in the baked filling as the overall taste was not that ‘coconutty’. Would make a killer dinner party desert with minimal effort.

Coconut Key Lime Pie. (adapted from the bbcgoodfood website)

Ingredients:

300g digestive Biscuits
150g butter , melted
1 x 397g tin condensed milk
3 medium egg yolks
finely grated zest and juice of 4 limes
300ml double cream
1 tbsp icing sugar
extra lime zest, to decorate

To make it coconut: 75g desiccated coconut, plus 10g more to toast for decoration.

Method:

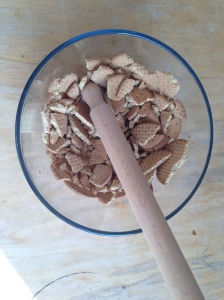
(1) Heat the oven to 160C/fan 140C/gas 3. Crush your biscuits, this is easiest in a food processor, or you can adopt the old fashioned approach and bash them with a rolling pin.

IMG_1013

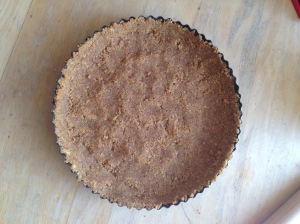
(2) Mix with the melted butter and then, using the back of a metal spoon, press into the base and up the sides of a loose-based tart tin (I used a 22cm tin) Bake in the oven for 15 minutes, remove and leave to cool.

IMG_1016

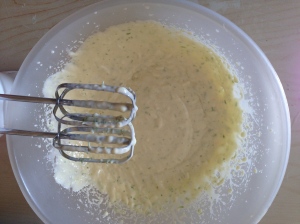
(3) Place the egg yolks into a large mixing bowl and whisk for 3 minutes with an electric whisk. Then add the condensed milk, whisk for a further 3 mins, finally add the lime zest, juice and coconut and whisk for another 3 mins.

IMG_1023

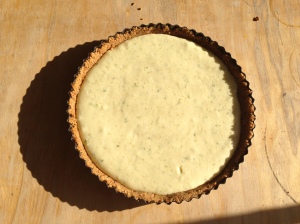
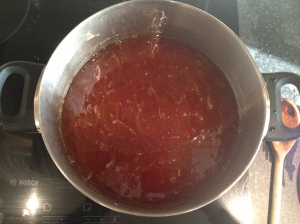
(4) Pour this into your now cool base and place back in the oven for another 15 minutes, until set. Leave to cool and then refrigerate for a minimum of three hours.
IMG_1026

(5) To decorate: Lightly toast your desiccated coconut in a dry frying pan on a medium heat until golden brown, set aside to cool. Add the icing sugar to the double cream and whisk until soft peaks. Pile on top of the centre of the pie, sprinkle over the extra lime zest, some toasted coconut and some non-toasted and eat!

IMG_1032

It’s been such a beautiful day in Edinburgh today so I have spent the day soaking up as much sun as possible. I have to share this picture of my walk to Uni today as well as a song by The Lumineers, who make perfect sunshine soundtracks (and the song is so close to having my own name as the title)…

IMG_1027

Sourdough Update and a month of treats.

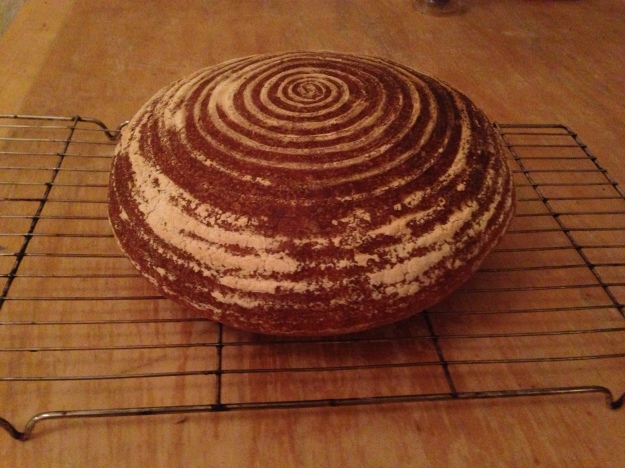
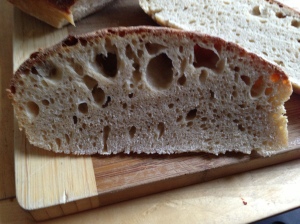
So my sourdough consumption has slowed down somewhat as dissertation and uni work has taken over my life. But the new addition to my baking cupboard, a banneton proving basket, is making my loaves look beautiful (even if I haven’t quite cracked the right crumb texture yet) I’ll keep you informed of my progress, in the meantime I will be spending my procrastination time searching bakery bits for more bread making accoutrements.

IMG_0901


This semester ‘Cake Dates’ have been replaced with ‘Sunday Brunch Dates’, where myself and my flatmate sample the delights of Edinburgh’s finest establishments, thought I’d share a few snaps of what these places have to offer, as well as few other home-made treats and café experiences.

From left to right: Grapefruit Meringue Pie from ‘Lovecrumb’, a organic sausage sandwich and the best brown sauce I’ve ever had from ‘Earthy ‘at Causeway Side (the picture underneath is of some of the organic produce on sale at the market there), a slice of Victoria Sponge to celebrate Edinburgh Baking Society’s First Birthday, A midnight snack with my flatmates- a slice of Coffee Cake and  Gin & Tonic at ‘Bee’s Edinburgh’, home-made Olive and Spinach Pizza, French Toast and Bacon (a hell of a brunch) at ‘The Haven’ in Leith and finally some mini Victoria Sponges made by my flatmate Lizy (http://lizybakes.blogspot.co.uk)!

_collage_242252211

Viennese Whirls

IMG_0915

I absolutely love these crumbly, buttery biscuits, but I’ve never attempted to make them before. I’m not sure why, as they’re very easy to make, they take barely any time to cook and they look amazing (even if I do say so myself) Another advantage is they use ingredients you’re bound to have lying around, and if you don’t they’re so cheap to pick up. I have to admit that I didn’t make the jam myself, despite spending my super stocking up on preserves, but I will endeavour to next time. I also want to try out some variations- lemon curd and fresh cream would be great.

Viennese Whirls (adapted from The Hairy Bikers)

Ingredients:

For the biscuits:

  • 250g/9oz very soft butter
  • 50g/2oz icing sugar
  • 50g/2oz cornflour
  • 250g/9oz plain flour.
  • ½ tsp  vanilla extract

For the filling:

  • 100g/3½oz soft butter
  • 200g/7oz icing sugar
  • ½ tsp  vanilla extract
  • 75g/3oz raspberry jam (the hairy bikers use seedless, but I couldn’t think of anything worse than seedless raspberry jam)

You will also need a piping bag and a large star nozzle. Also, to be prepared, line two baking sheets with greaseproof paper, on one side of this draw circle guidelines for your biscuits, I made mine pretty big and would make them smaller next time, probably around 3inch diameter.

Makes about 18 biscuits, but this depends on how big your circles are.

Method:

  1. Preheat the oven to 190C/375F/Gas 5.
  2. Put the butter and icing sugar in a large mixing bowl, using an electric whisk beat until fluffy. Then beat in the plain flour, cornflour and vanilla extract. Make sure you scrape the sides of your bowl down to ensure everything is properly mixed together.
  3. Spoon the mixture into the piping bag fitted with a large star nozzle. Pipe rosettes using the circles on the greaseproof paper as a guide.
  4. Bake in the centre of the oven for 13-15 minutes until pale golden-brown, they shouldn’t be golden brown as this will mean the IMG_0908biscuits won’t be as light and crumbly as you want them to be. Leave to cool on the baking tray for a few minutes then transfer to a cooling rack. Repeat until all your mixture has been used.
  5. For the filling, put the butter in a bowl and sift the icing sugar on top. Add the vanilla extract and beat until light and smooth. Spoon into a clean piping bag fitted with a large star nozzle. Put the jam in a bowl and beat until smooth.
  6. Spoon a little jam onto the flat side of half of the biscuits and place jam-side up on the cooling rack. Pipe the buttercream icing onto the remaining biscuits and sandwich with the jam. I just piped around the outside of the biscuits, rather than covering the entirety of the biscuits as otherwise they are very sweet.

IMG_0918

Dundee Cake.

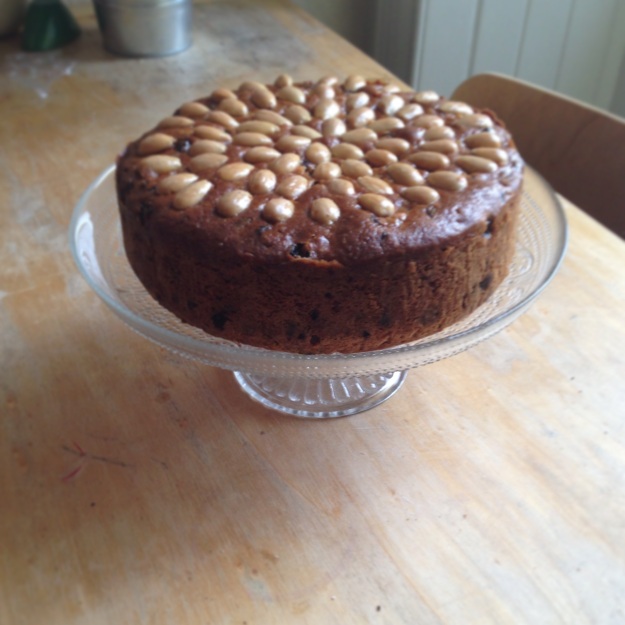
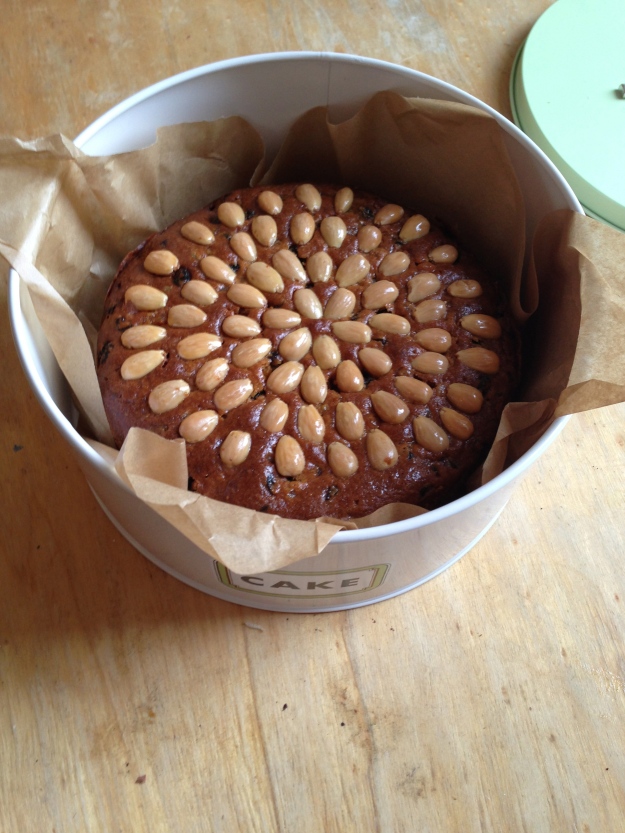
IMG_0863

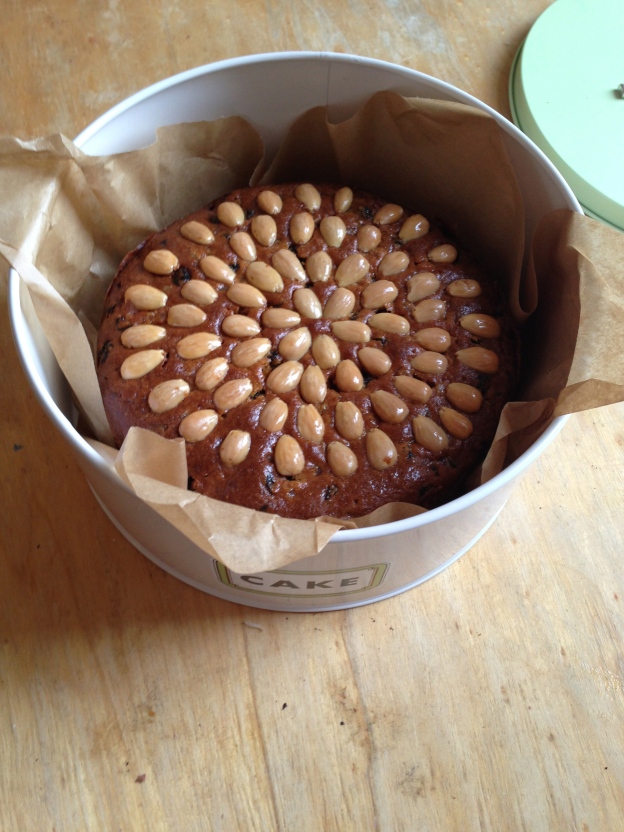
I am massively behind on my blogging so this cake at the time of baking was pretty seasonal, what with it being Burns Night the following day. Irrespective of timing this cake is brilliant, it combines my love of fruit cake and neat circles, it stores for AGES (seriously ages, Dan Lepard had kept his for a whole year), and makes such a huge cake so there’s definitely spare for sharing. I also got to use some of my marmalade from christmas, so it was completely homemade!

I used Dan Lepard’s recipe but found I had to cook it for a bit longer, maybe that’s because my oven isn’t the greatest, but as it cooks at such a low heat it’s very hard to burn, so don’t be too tentative to keep it in the oven for longer.

Dundee Cake (adapted from Dan Lepard)

Ingredients:

175g soft unsalted butter
150g caster sugar, plus extra to make the glaze
Finely grated zest of an orange
250g plain flour
3 large eggs
100g marmalade (It doesn’t need to expensive stuff)
100g ground almonds
375g mixed dried fruit
200g glacé peel or cherries (I used peel as I detest glacé cherries!)
1 tsp baking powder
100g blanched almonds for the top

Method:

1) Preheat the oven to 170°C/fan 150°C/335°F/gas 3. Place in a large mixing bowl the caster sugar and softened butter, with an electric whisk beat until pale and fluffy.

2) Add the orange zest and 75g of the plain flour, beat well. Then add the eggs, one at a time, beating in between. Once mixed thoroughly. beat in the marmalade.

3) Beat in the ground almonds, add the remainder of the flour and the baking powder, ensuring to mix well.

4) Fold in the dried fruit. Grease and line a 20cm round cake tin. when lining the sides leave an excess of 10cm of parchment paper.

5) Pour the mixture into the tin, smoothing the top and making sure the mixture has no air pockets.

6) Scrunch a square of tin foil, unfold, and then sit on top of the tin (the excess parchment paper will hold it over the cake mixture, creating a lid to keep the steam in).

7) Place in the middle of the oven and cook for 45 minutes.

8)Whilst the cake is baking, place the almonds in a bowl and cover with boiling water for 10 minutes, drain and dry with a tea towel. This prevents them from browning too quickly when you put them on the cake.

9) After the 45minutes cooking time remove the cake from the oven, and lower the temperature 150°C/fan 130°C/300°F/gas 2. Place the almonds on the top in a circle pattern starting from the centre, with the flat side of the almonds facing down into the cake.

10) Return to the oven, with the foil now removed, for 60-90 minutes (mine needed the full 90 minutes). Place  a skewer into the cake, it should leave a few crumbs on your skewer as it’s not quite cooked yet. Remove from the oven and glaze with a mixture of milk and caster sugar. Return to the oven for a final 10 minutes to brown slightly. Remove from the oven and leave to cool in the tin. It keeps well if stored in brown parchment paper and a cake tin.

IMG_0858

Sweet Potato and Coconut Soup

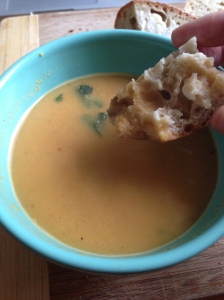
With the blizzards, snow storms, sleet and rain that has plagued our lives in the UK this week, it only seems fitting that lunch should come in the form of a warming soup. This soup is speedy to make and keeps well (and freezes even better). Best served with some crusty bread, or some sourdough!

IMG_0849


Sweet Potato and Coconut Soup

Ingredients:

1 tbsp olive oil

1 red onion, diced

1-2 tsp Harrisa paste or curry paste (it’s also good with thai curry paste)

1 litre vegetable stock

1/2 can of coconut milk

handful of coriander, shredded roughly

750g sweet potatoes, peeled and grated.

Method:

1) Heat the olive oil in a large sauce pan, fry the onions for 2-3 minutes. Add in the harrisa paste and reduce the heat so the onions do not brown too quickly.

2) Add the grated sweet potatoes and mix thoroughly, fry for a further 2-3 minutes. Add the vegetable stock, increase the heat and bring to the boil, then simmer for 5 minutes until the sweet potato is tender.

3) Take off the heat, season and add the coconut milk, leave to cool slightly and blend until smooth.

4) Serve with a sprinkle of coriander.

Enjoy!

IMG_0854


Havent’ put a track up for a while, so here’s one (free of charge), crazy upbeat and video filmed in the desert, couldn’t be further away from the snow and slush of our icy streets.


Starter News: Day 5 and Garth the Starter’s first loaf.

Day five arrived and it was the last day of action, according to Mr Lepard’s instructions from day 6 I could get baking (although I left it until the weekend, having not got the time to devote to bread making). So here’s how day five went down and the trials and tribulations of my first sourdough loaf.

Day Five:

IMG_0829

Dan Lepard says that by day five the fermentation should be obvious, and the aroma should be starting to turn acidic.

Ingredients:

100g water at 20 degrees c

125g strong white flour

Method:

1) Remove and discard 3/4 of the starter from the kilner jar.

2) Pour in the water and mix well.

3) Add the flour and stir to a thick paste. Cover and leave for another 24 hours.

Dan Lepard favours keeping the refreshment heavier on the flour than the liquid (when many prefer a 1:1 ratio) as he says this slows down the rate of fermentation and prevents the leaven from rising and falling too quickly.

My first loaf.

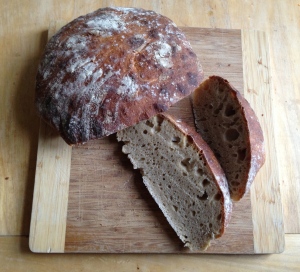
IMG_0846

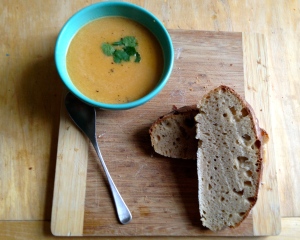
Seemingly everyone out there has varying and often conflicting rules when it comes to sourdough loaves, being highly inexperienced in this field I decided to play it safe with a Hugh Fearnley-Whittingstall recipe from the channel4 food website. I decided upon this recipe as it uses a sponge method, which you make 24 hours before you make the dough, it’s a technique I used to make my stollen at christmas and I was pretty pleased with that. I did have a few disasters along the way; my proving basket is yet to arrive, so I used a suggestion off another food blog to heavily flour a tea towel and use it to line a colander. A brilliant idea in practice, but when you fail to properly flour the tea towel and your dough sticks to it once it’s proven it doesn’t seem like a great idea. In the future, if I’m devoid of the proper equipment, I will use this method but HEAVILY flour my tea towel. I also failed to heat my baking sheet properly, and I then didn’t cook my loaf for long enough, so it was quite undercooked on the bottom. But there were a few positive aspects of my first bake. The crust was great (having used the pan full of boiling water to create steam method) and the top of the loaf had a pretty good crumb. I played it too safe with the presentation of my first loaf, and decided to not slash the dough, so it did just look like a boulder. But all in all I am pretty damn proud of my first loaf, knowing I cultivated Garth from the very beginning. Hopefully this is the start of something, and after a few more dodgy loaves I’ll be cracking out artisan bread left, right and centre. But for now, my slightly stodgy sourdough was a sufficient accompaniment to some homemade soup.

IMG_0848

Starter news (day three and four)

My two successful days in the world of starters must have gone to my head because I royally cocked up my third. In a state of tiredness following a 6am five hour train journey to Edinburgh (clutching my starter, affectionately known as Garth, the whole time) I misread Dan Lepard’s instructions and made the (hopefully) common mistake of misreading ‘tsp’ for ‘tbsp’. So Garth the starter was massively overfed. However, rather than start all over again I have decided to persevere with Garth, and today (day four) he is looking exactly the way he is meant to. So maybe my mistake was more of a cheeky blunder than the mammoth cock up I had previously described it as.

Day Three. 

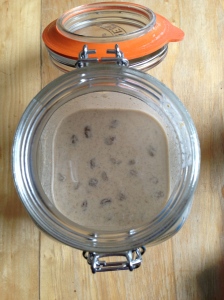
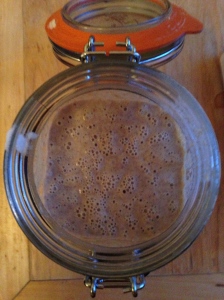
Dan Lepard says that by day three the raisins will have stated to break down and you will have started to notice a light, coffee coloured ring around the area in which they sit. He also says that there will be the odd pinhole of fermentation on the surface. All of which Garth had pre-train jostling, but the photograph does show some of these signs.

IMG_0826


So to proceed with Dan’s method on day three you must…

Ingredients:

100g water and 20 degrees

4 rounded tsp strong white flour

4 rounded tsp rye flour

Method:

1) Add the water, stir well to combine.

2) Then add the flour and stir well again. Dan says the mixture will look frothy but that is just from the stirring. Cover and leave for another 24 hours.

Day Four.

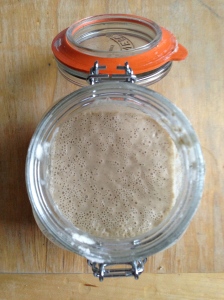
By now the froth of fermentation should be beginning, but the aroma of acidity should be only slight. Apologies for my photograph it was very dark in my kitchen, but hopefully you can see the fermentation well enough.

IMG_0827

Ingredients:

100g water at 20 degrees

125g strong white flour

Method:

1) Remove and discard three-quarters of the mixture.

2) Add the water and stir well.

3) Strain the mixture in order to get rid of the raisins, pour the strained mixture back into your kilner jar and add the flour and stir well.

4) Cover and leave at room temperature for 24 hours.

Marmalade Making

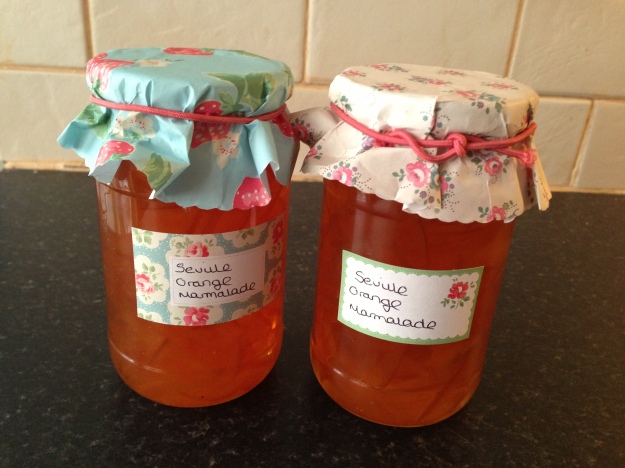
IMG_0816

Following the success of my summer of preserves as soon as Seville Oranges (sometimes known as Marmalade Oranges) came into season I knew I had to crack out the jam thermometer. I dived back into Beryl Wood’s ‘Let’s Preserve It’ for a traditional seville orange marmalade and also decided to make a batch of lemon and lime marmalade which I had made in the summer in an attempt to fill the cupboard with preserves before I head back for my final semester of University. The Seville Orange is much bitter than its compadres, perfect for marmalade, and as they are just in season the supermarkets are swimming with them. All marmalades and jams contain an obscene amount of sugar, which never fails to shock me. But at least you aren’t consuming it by the jar full in each sitting.

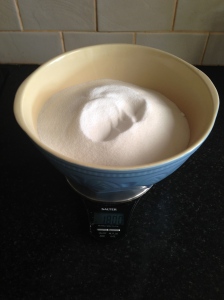
4 pounds of sugary goodness.

4 pounds of sugary goodness.

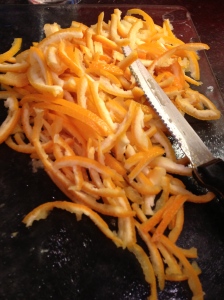
Many people are divided over the type of marmalade they prefer, some like their peel small and minced or thinly sliced, others like thick and chunky preserves. It’s totally personal choice but I shredded my peel reasonably thin.

This recipe does require the mixture to sit over night before adding the sugar, so ensure you have enough time to complete it.

Seville Orange Marmalade. (adapted from Beryl Wood’s ‘Let’s Preserve It!’)

Fills 6x 450g (1lb) jars

Ingredients:

910g (2lb) Seville Oranges

1 lemon

1.8kg (4lb) Caster Sugar

2.3l (4 pints) of liquid, made up on whatever juice you remove from the fruits and the rest water

Equipment needed:

Jars (with suitable lids)

Jam thermometer

Jam funnel

Large Saucepan or Jam pan

Muslin Cloth

Wax discs

Method:

1) Juice all the oranges and lemons, remove as much of the pith as you can. Keep the Juice in a measuring jug, ensuring no pith or seeds has escaped into it. Place the pith and the pips in the muslin cloth and tie tightly. This will sit in the mixture over night and release pectin left within the pulp and pips, pectin helps the marmalade set. IMG_0778

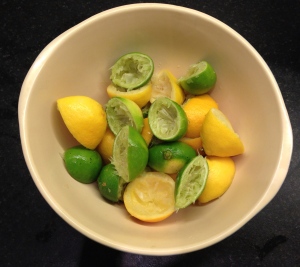
2) Place the squeezed citrus fruit in a large bowl and cover with boiling water from the kettle, let this sit until the water has cooled. This will help break down the remaining pith so it can be scraped off and the peel can be shredded more easily. Once cool, shred, slice or mince the peel as appropriate, ensuring to first scrape as much pith off as possible. Place the shredded fruit into your saucepan or jam pan.

3) Measure the juice from citrus fruit, add enough water to make up to the four pints that are required. Pour into the jam pan/sauce pan. Place the Muslin cloth containing the pips and pith into this saucepan. Leave overnight.

4) The next day remove the Muslin cloth, squeezing it to ensure you get as much pectin out as possible. Bring the mixture to the boil then simmer until the peel is soft and the contents about halved.

5) Add the sugar, stirring until dissolved then boil fast to set. This takes a while, I cooked mine for about 45 mins. The best way to tell if the marmalade is cooked sufficiently is to store a plate in the freezer, and when you think the marmalade is close to being done put a small amount on the plate and leave to cool to see if it thickens. Once cooked leave your marmalade to cool slightly.

IMG_0796

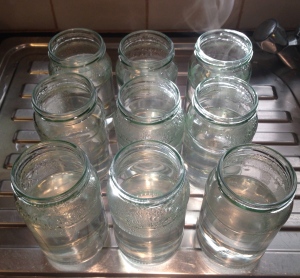
6) Meanwhile, sterilise your jars. This can be done many ways. I wash mine thoroughly in hot water and washing up liquid, dry them thoroughly then fill with boiling water and leave for a minimum of 10 minutes.

IMG_0144

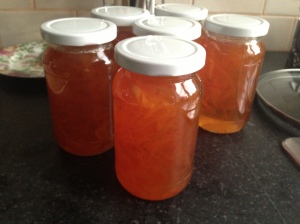
7) Fill your jars using a jam funnel, place a wax disc on the top and seal tightly. Leave to cool at room temperature and store in a cool, dry cupboard. The marmalade should last out the year if stored properly and once opened will keep in the fridge for up to three weeks.

IMG_0797

I also made a batch of lemon and lime marmalade, the recipe of which is on my ‘Jam-boree’ blog post, which you can get to if you click the photograph below.

Enjoy!

IMG_0147Preserve making is pretty laborious, so to keep you amused here’s a link to a soundtrack of a film I watched recently, it’s called happythankyoumoreplease and is a incredibly endearing tale with a great soundtrack. So have a listen, or better yet watch the film.